Peloton Bike vs. Bike Plus: After Over a Year With the Bike+

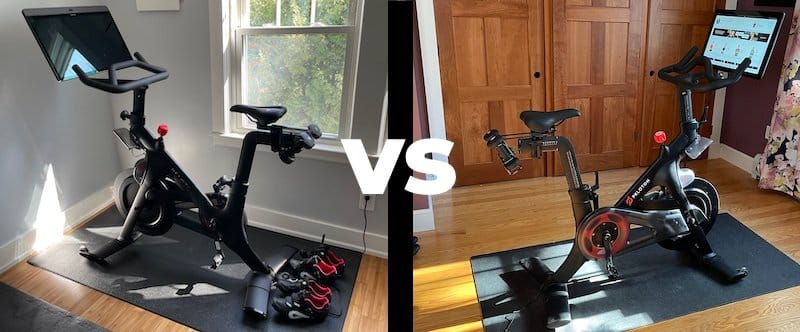
The Peloton Bike and Bike Plus have the same main features, classes, and feel the same while riding.
But there’s a $750 price difference: the Bike is $1,745 (after delivery fees), while the Bike+ is $2,495.
After a year and a half of using the Peloton Bike+, I’ve determined that the Bike+ has just five main unique features compared to the entry-level Bike. But are these features worth an extra $750?
The short answer? Save your money and go with the entry-level Bike. The Bike+ is a $200 upgrade that Peloton charges $750 for.
For the long answer, keep reading as I break down each of the five main differences and provide alternative ways to gain some features from Bike+ for less.
But before you continue, if you’re on the fence about buying a Peloton, read my Is Peloton Worth It? post.
Five Major Differences
1. Screen

The Bike+ screen is slightly larger at 23.8” compared to 21.5” on the Bike, but I didn’t notice a huge difference until researching for this post.
Peloton claims that the Bike+ has a reduced-reflective and anti-smudge coating, but I can’t tell a difference. The Bike+ is still a fingerprint magnet and reflective.
But there’s one huge difference when comparing the screens:
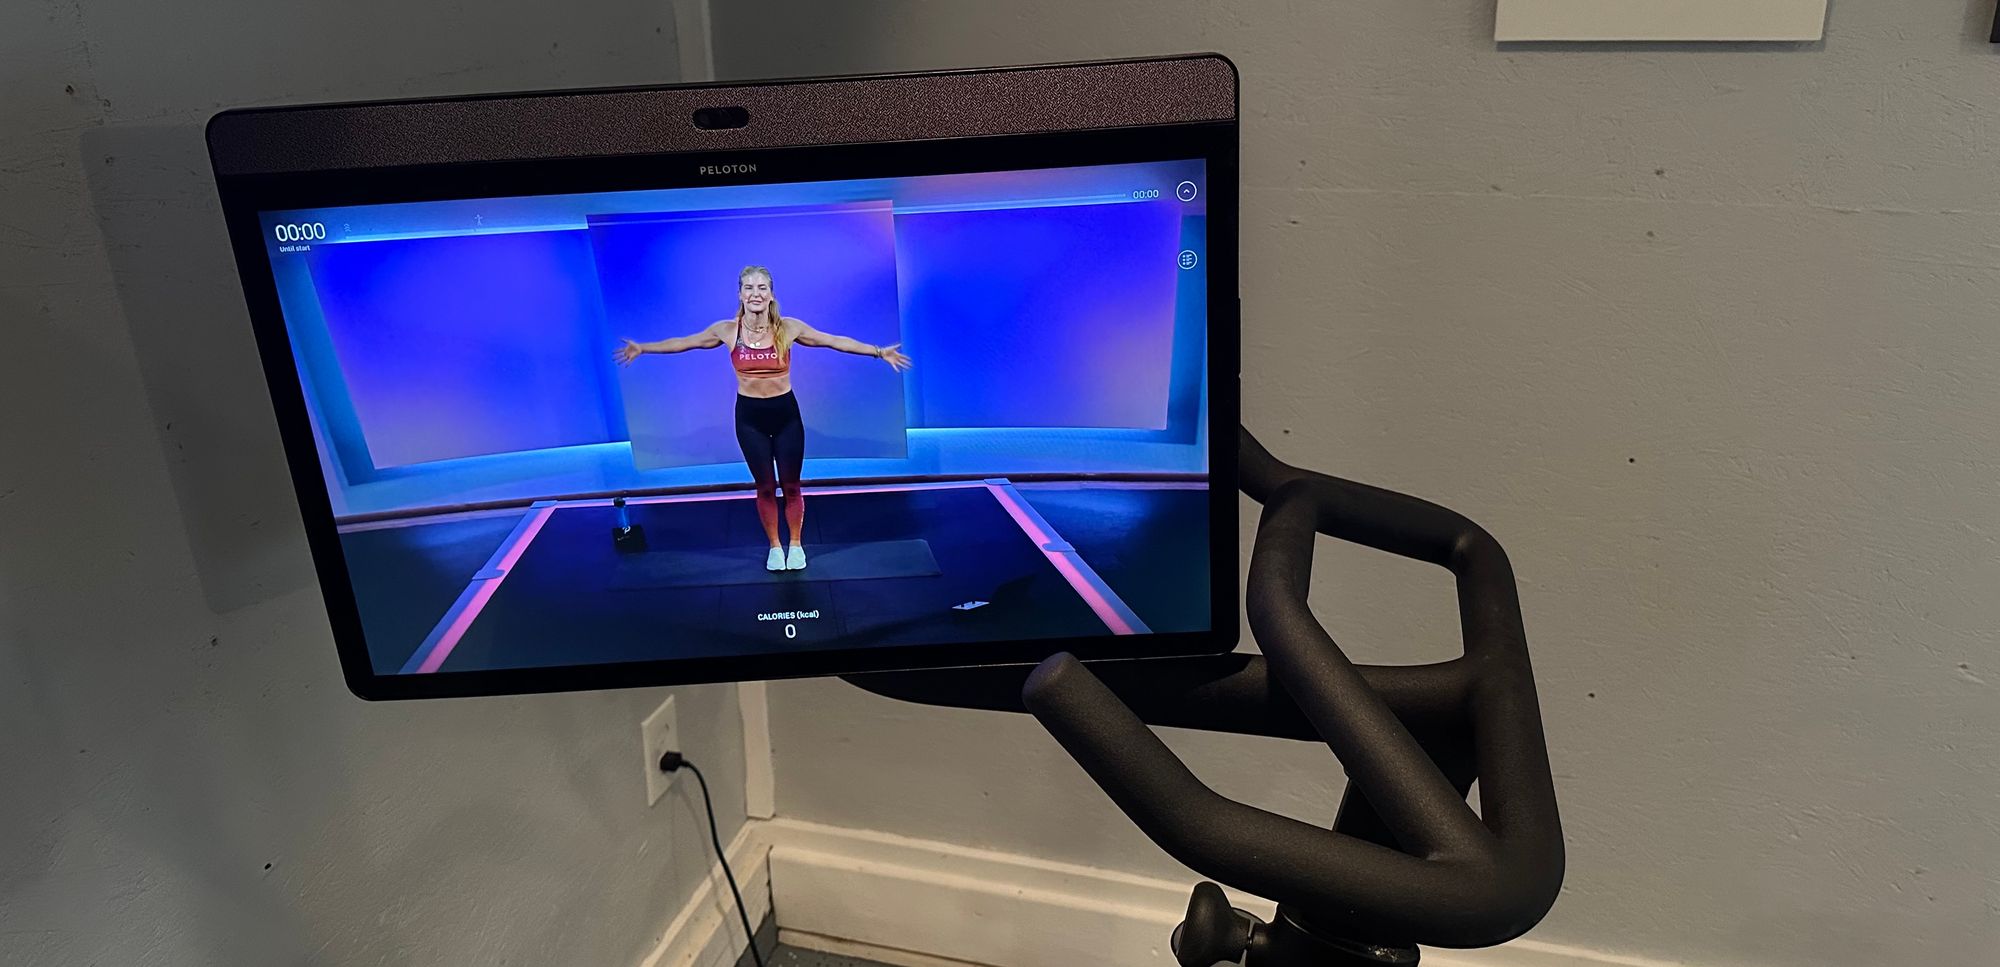
The Bike+ screen rotates 360 degrees and tilts, which is great if you want to do exercises or guided stretching off the bike. The screen rotates smoothly and can be positioned at any angle.
The rotating screen is the biggest new feature on Bike+, but If you want to take a non-bike Peloton class, there are lots of alternatives. The benefit of the rotating screen is pure convenience.
The regular Bike’s screen can’t be rotated or tilted up or down, but there are two ways to get a similar experience:
- Third-party swivel mounts. These mounts turn your Bike’s fixed screen into a rotatable screen. I can’t endorse these mounts/arms because I’ve never tried them, and they probably void the Peloton warranty, but some of these mounts are well-reviewed.
- Cast from your Peloton or the Peloton phone app to a TV. If you don’t have a TV in a convenient spot, 32” TVs are just $100, which is easier to stomach than the $750 upgrade.
If you plan to do lots of off-the-bike Peloton classes and want the convenience of the rotating screen, it’s an awesome feature, but probably not worth $750 alone.
2. Speakers
The Bike+ has 4-channel audio with 2×3 watt tweeters and 2×10 watt woofers, while the Bike has a 2×10 watt sound system.
What does this mean?
The Bike+ sounds a lot better because the speakers are right above the screen and facing you. The bass is deeper and it sounds less like a tablet.
The regular Bike speakers are loud enough, but they sound more hollow compared to the Bike+ partly because the speakers are directed away from you.
How bad is the sound quality? I used my parents’ original bike for a couple of years without having issues with the speaker.
The JBL Charge 4 or Megaboom 3 are great options to improve the sound quality of your Bike for around $100. Bluetooth or wired headphones can be used too.
3. Apple GymKit
The Bike+ has Apple GymKit support, which is the feature that enticed me most before buying the Bike+
What does this mean?
Peloton has an NFC reader and works just like Apple Pay.
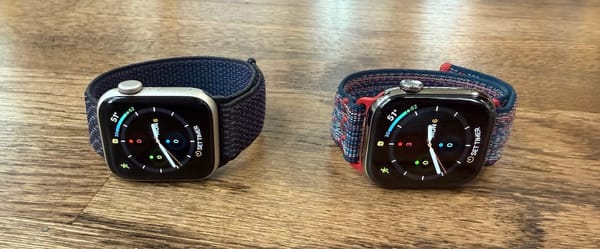
Bring your watch to the top of the screen (near the Peloton logo) and a message will appear on your Apple Watch. Just approve the connection. Once your watch is connected to your Peloton, your Apple Watch automatically goes into workout mode and logs the workout. The best part? The heart rate from your watch is displayed on the left side of the Peloton screen.
Peloton’s interface will let you know which heart rate zone you’re in at all times, which is crucial for power zone rides.
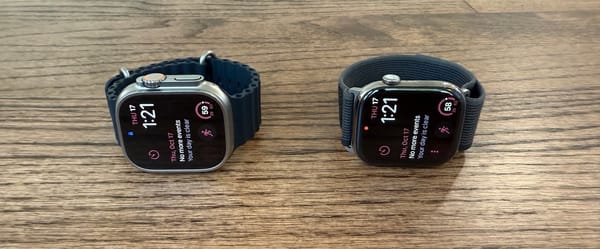
In my experience, GymKit works about 80% of the time, but sometimes I hold my watch near the Peloton logo and nothing happens. Other times, I accept the notification on my watch but get an “Unable to Connect” message. I can fix the issue by resetting my Apple Watch, but that takes about three minutes. The same thing happens with with my wife’s Apple Watch.
Over my year of ownership, I tried multiple Apple Watch models and even factory reset my Peloton, but nothing seemed to improve the connection.
However, I recently noticed that if I tap the “done” button on my previous watch workouts before trying to connect to the Peloton, it’s closer to a 90% chance of a good connection. But it’s still frustrating when my watch won’t connect or when I have to hold my watch near the reader for a full 10 seconds.
Unfortunately, GymKit still only works for biking workouts. I’d love to put my watch next to the reader for core and other off-the-bike exercises to have it log the workout and put my heart rate on screen, but after more than a year of Bike+’ existence, it’s still not a thing.
What do you do if you have an Apple Watch and want to buy the original bike?
Just start an indoor biking workout and look down at your watch to see your heart rate.
But if you want your Apple Watch’s heart rate to appear on the Peloton screen, there’s a third-party app for your Apple Watch called BlueHeart that should let you enable this.
For on-screen heart rate, without the Bike+ and Apple Watch, Peloton sells a heart rate strap that goes around your chest for $50. Or you can buy a Bluetooth heart rate monitor. Just type in “peloton heart rate monitor” on Amazon there are a bunch of third-party options. The Whoop wrist strap works great too.
GymKit is my favorite feature on the Bike+, but it doesn’t work consistently, doesn’t support workouts off the bike, and is not worth $750.
4. Resistance
The Bike has a mechanical resistance adjustment. When you turn the resistance knob, you’re moving the parts inside the bike that make it harder to pedal. It gets harder to spin the knob as you add resistance.
The Bike+ has a digital resistance adjustment. When you spin the knob, the computer is notified to change the resistance. You can spin the dial endlessly because there’s no endpoint. The dial is more sensitive too. Just a small tap can make a major adjustment on the resistance, while a full spin is needed on the bike to move it five points.
What does this mean during a ride?
The digital adjustment enables a feature called “Auto-Follow,” which works with any on-demand class with the target metrics. When the resistance on the screen changes, your resistance will automatically adjust. You can turn this feature off anytime by tapping on the lock icon.
Auto-Follow sounds good in theory and newer riders seem to like it, but I still find that the auto-follow adds more thinking to my ride than riding without it because it doesn’t always work as it should.
Sometimes the target metrics aren’t properly recorded and the switch of resistance can be delayed by a few seconds too. There’s nothing worse than the instructor telling you to increase the resistance to 50, while the resistance incorrectly bumps down to 30. It takes you by surprise.
Manual resistance control is the best and new riders shouldn’t have an issue learning how to use it.
5. Better Calibration
The Bike+ is programmatically and accurately calibrated with a load sensor.
While the regular Bike comes pre-calibrated, after lots of use, your output score becomes less accurate and the Bike needs to be manually calibrated again.
Some hardcore Peloton fans say that accurate calibration from the Bike+ is essential, but it depends on how you plan to use your Peloton.
If you use it as a tool for motivation or a way to make exercise more fun, it’s not important to have accurate output scores. Or if you just want to compete against your own scores each ride, your inaccurate output numbers will stay somewhat consistent, so it doesn’t matter.
The Bike’s potentially improper calibration may be a deal-breaker if you’re hyper-competitive and want to know where you stand on the leaderboard each ride. But unfortunately, you’ll always be riding against others with inaccurate scores as long the regular Bike is still used by others.
6. Miscellaneous
There are five minor Bike+ improvements:
- It has twice the amount of RAM and a faster processor. Moving in and out of menus is faster, but when choosing a class is the only objective, processing power isn’t a huge need.
- The front-facing camera went from 5 megapixels to 8 megapixels and it has a privacy cover. If you and a friend are in the same class, you can video chat, but because the screen is small a picture quality improvement is meaningless.
- It has a USB-C charging port for your phone. How often do you need to charge your phone while you ride?
- The headphone jack port is conveniently located in front of the handlebars, rather than on the right side of the bike.
- It has better seat adjustments because it’s a bit smoother and quicker.
Interestedly, the Bike has two small advantages:
- The Bike has a metal rack that feels sturdy, while the Bike+ has a plastic rack to hold the weights, which feels cheap. To my surprise, even after a year of use, the plastic rack hasn’t cracked.
- The bolts for the Bike+ screen need tightening every once and a while because the screen gets loose, but this doesn’t happen with the Bike.
Is the Bike+ worth the upgrade?
When I originally wrote this post, I upset a few Peloton loyalists because I didn’t recommend everyone to buy the Bike Plus.
To be clear: I love my Bike Plus.
The Bike Plus is the better product of the two bikes. I’m happy with my purchase and wouldn’t trade it for the regular Bike, but I’m in a good spot financially and like to own the best of the best. The rotating screen and Apple Watch integration are great additions.
My thesis is that the regular Bike is the better value for your dollar and probably the one most should buy because it’s hard to rationalize the extra $750 based on the incremental upgrades.
But if you’ve got the money? Get the Peloton Bike Plus.


